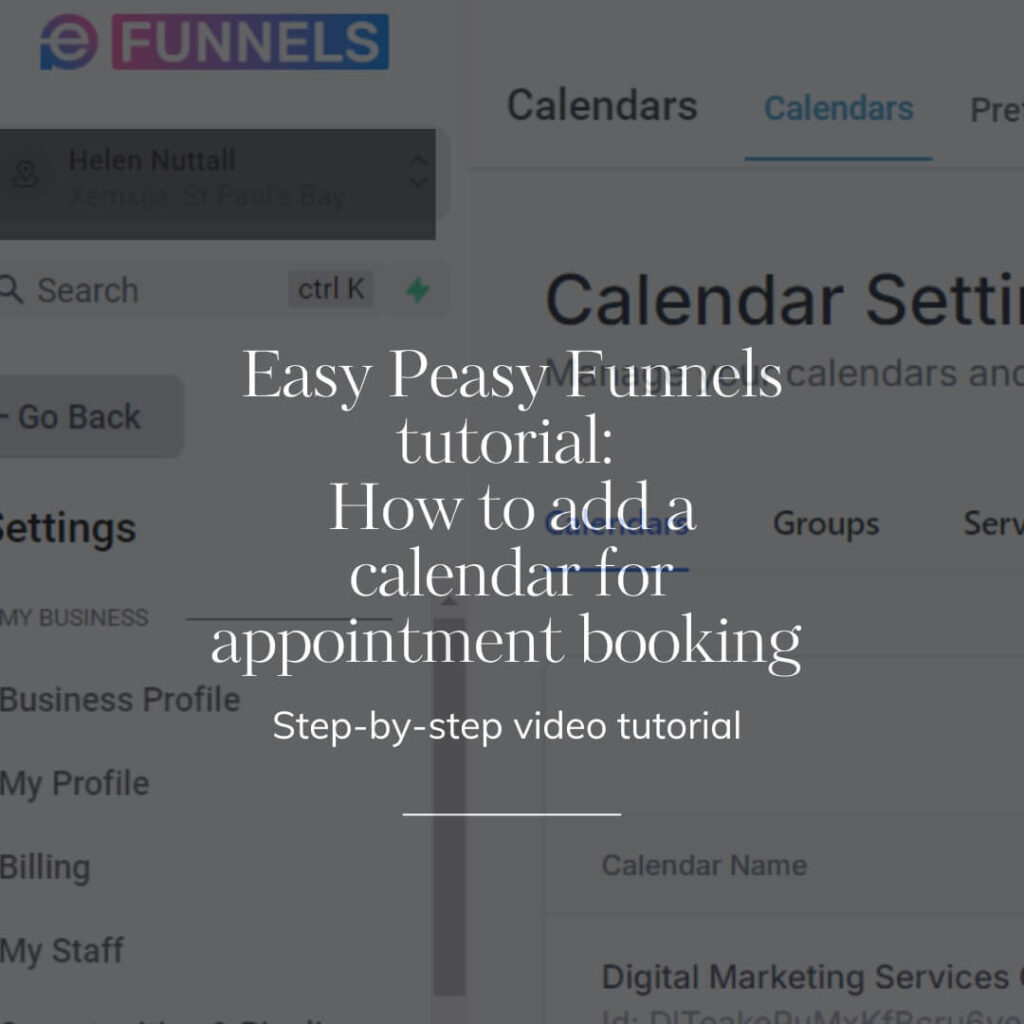
Calendar Setup Inside Easy Peasy Funnels: A Step-by-Step Guide
Welcome to this tutorial on setting up your calendar inside Easy Peasy Funnels! If you’re looking to make your appointment booking scheduling process easier, you’re in the right place.
Whether you’re a dog trainer or run any online business, Easy Peasy Funnels offers a robust, simple system to manage your appointments without the hassle of additional costs or extra tools.
This site contains affiliate links to products. I may receive a commission for purchases made through these links. This doesn’t affect the price you pay, or if it is free, it will remain free. Know that I only promote products that I know, use, like, and trust. If it was 💩 you wouldn’t be hearing about it from me x
Try Easy Peasy Funnels for free for 14 day using my affiliate link.
Why Use Easy Peasy Funnels?
Easy Peasy Funnels is great for any online business that wants to keep everything organized in one place. This can help you grow your business while keeping expenses low. In this tutorial, we’ll dive into the calendar system, which functions similarly to services like Calendly but without the extra charges.

Connecting Your Calendar
Once you’re in Easy Peasy Funnels, you can connect your Google Calendar. This integration means that when someone books an appointment, it automatically syncs with your Google Calendar so you can see it on your Google calendar too.
Likewise, any appointments on your Google Calendar will reflect in Easy Peasy Funnels, ensuring you stay organized. You can set this up as a reciprocal calendar or choose not to share information to EPF.
Setting up a new calendar inside Easy Peasy Funnels
If you prefer watching a video tutorial and to implement as you go, here’s the link to my Youtube tutorial.
Let’s create a new calendar.
1. Access Calendar Settings
Click on the Calendar Settings section. You’ll see your existing calendars, like research chats, free calls, website consultations, and more.
2. Create a new calendar
Click on the “Create Calendar” button. You’ll have four main options to choose from, including service-based calendars and event calendars.
For now, we’ll focus on personal booking but in my business I do tend to use the service calendar.
3. Name your calendar
For this example, let’s name it “Website Services Call.” If you have a larger team, you can assign different users to this calendar.
4. Set a custom URL
Customize your URL for easy sharing. Just make sure it’s unique; the system will notify you if the URL is already in use.
5. Choose meeting duration
Set how long each meeting will last. In our case, we’ll set it to 15 minutes, but you can adjust this as needed.
6. Set booking availability
At this point, you can also decide if this service will be free or paid. If it’s paid, you’ll fill in the currency information in the section at the bottom.
Advanced settings within the Easy Peasy Funnels appointment booking calendar
1. Add a Logo or Banner
This feature allows you to personalize your calendar. You can upload a logo or banner that represents your business.
2. Meeting Description
Here, you can provide details about the meeting, including what clients should bring. For example, if you’re working with dog guardians, you can remind them to bring any relevant documentation or information about their pets.
So if they are on medication you need to be aware of, you can give them a mini-list of things they need to have a hand when you meet them on camera.
3. Choose Your Meeting Platform
You have the option to use Zoom or Google Meet for your appointments. Google Meet is a cost-effective option if you’re already using Google Workspace, but keep in mind that it may not allow you to record calls unless you have the appropriate subscription.
You can connect Zoom, but it would need to be a paid account to do this.
4. Set what you want from the acknowledgment email
Easy Peasy Funnels will automatically send an acknowledgment email to the participants. You can also choose who receives this email, allowing you to keep your team informed.
5. Change the colours to your brand colours.
Easy Peasy Funnels allows you to customise the appointment schedular page so it looks in keeping with your brand. I have my Canva account open, so I can quickly paste the hex codes of my colours when I am customising my tech.
Embedding the Calendar
Once you’ve set up your calendar, you can embed it on your website or share it directly with clients. Click on the “Share” button znd you get three options:
– One-time Link: A link you can share directly with clients and if you want the link to be unique.
– Permanent Link: Use this if you want to use the link over and over again. Eg. on a contact page.
– Embed Code: This allows you to put the calendar onto another webpage say you wanted it to appear on your contact page.
Final checks
After customising and setting up everything, preview the calendar to make sure everything appears as you wanted it to. If the colour scheme doesn’t match your brand, you can go back into the setting and customise it again and refresh the page to see the updates.
I hope that was super useful to you and that you save buckets of time now you don’t have to manually email a dog guardian or client every time they want to book in for an appointment.
Be sure to subscribe to my channel for further tutorials and tips and tricks from yours truly, the website geek!
Why have so many separate tools that cost a fortune!
Try Easy Peasy Funnels for free for 14 days using my affiliate link and keep hold of your business expenses
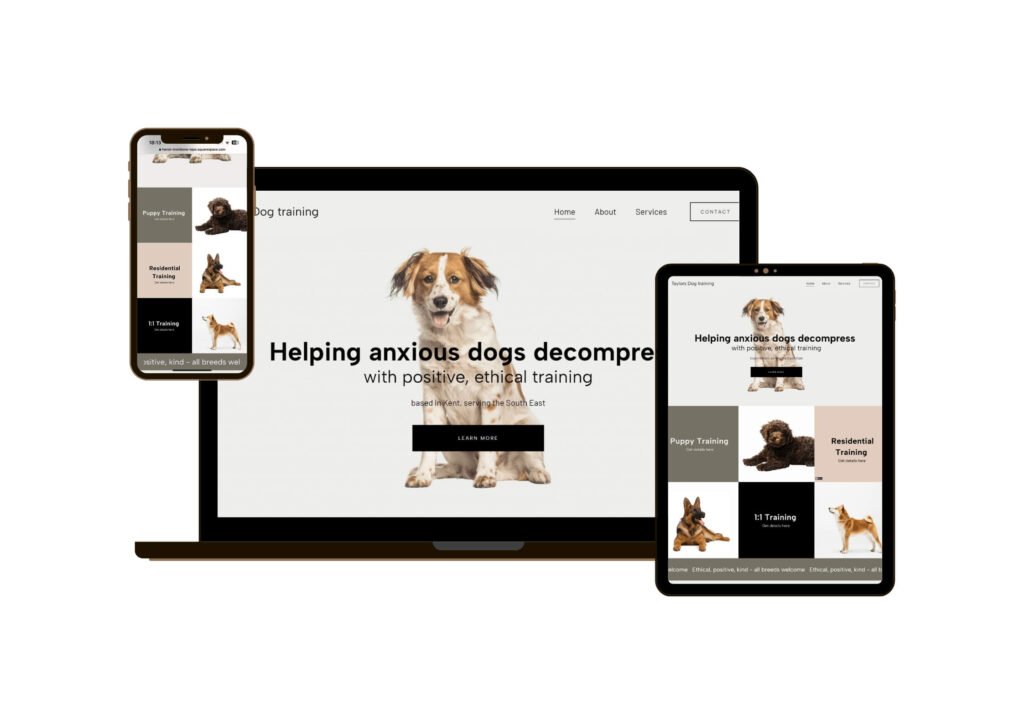
Want to talk to me about creating your premium dog training website?
Get in touch and we can have a chat about what you need. I build websites on Squarespace, WordPress and versions of Go High Level, like Easy Peasy Funnels.
Want get on my email list, so you get notified when a new blog post drops or the latest news about my services?

Comments +